Start your flower garden now by planting seeds inside during the winter.
Here are 5 tips!

The wind is howling outside and the calendar is telling me it's almost February. To me, this is the perfect time to start some seeds indoors! Honestly, this task helps me get through the last bit of winter. Taking the time to figure out the germination needs of each seed, the relaxing sensation as soil is spread over the seed trays and lesson in patience as we wait until the first little sprout appears. It may not be for everyone, but it certainly is for me! And if you are like me, but need a little refresher, I've got you covered. Here are top 5 things to get your flower bed started now:
1. Buy seeds
By now, you may have already received a few seed catalogs in the mail. Some of my favorites are: Johnny's Seed, Burpee, Select Seeds, Hudson Valley Seed Company, and The Gardeners Workshop. If you haven't received any, you can look them up online and order directly from their website. Alternatively, lots of garden centers and other stores are starting to put out seeds and seed starting supplies. Head on over and pick up a few of your favorites.
"But Kate, what seeds should I buy?" Well, dear reader, I'm glad you asked! My answer is - buy what will make you happy! Do you love a certain color or flower? Do want a prolific bloomer? Want something to add attract pollinators to your vegetable garden? What about starting a garden just for cutting flowers? Many of the flower seeds you will find in stores and online are annual plants. Annuals are plants that only live for one growing season, and yet they will typically bloom repeatedly throughout the season. In contrast, perennials are plants that typically bloom for a short period of time (2-4 weeks), leaving just the foliage for the rest of the season. However, unlike annuals, perennials will come back year after year. It's a trade off. Annuals need to be newly planted every year but they bloom for longer, and perennials don't need to be replanted, but their bloom time is significantly shorter.
2. Gather your Supplies
To start your seeds indoors, you'll need a few supplies:
Seed Starting Mix
Seed Starting Mix is not the same as potting soil! A seed starting mix is specifically designed for germinating seeds. It has a finer texture and a lighter composition compared to potting soil. Seed starting mix provides the excellent drainage and moisture retention needed for seeds to sprout. Potting soil, in contrast, has a coarser texture and more nutrients which supports established plants with larger root systems.
Seed Germination Tray
These trays are specifically meant for germinating seeds. The size of the squares are much smaller than standard plant trays and they also usually come with a solid tray below. The bottom tray will catch any leaking soil from the drainage holes and also, provide an easy way to water the tiny seedlings without disrupting them. Simply fill the bottom tray with water and the it will soak up to the seed.
Of course, you don't HAVE to use a seed germination tray - this is just my preferred way of starting seeds indoors. Any pot or cup will work so long as there are holes for drainage and seed starting mix is used.
Many seed germination kits also come with a plastic "dome." This helps create a greenhouse effect, retaining heat and moisture for the seed. It's best to remove the humidity dome as soon as the seed has germinated and you see a green sprout. Too much humidity at this point can cause disease. Don't have a plastic dome? Use a layer of Saran Wrap and a rubber band to keep it secure. But again, don't forget to remove it as soon as the seeds have germinated.

Light & Heat
Seeds need a good amount of light in order to germinate and continue to grow. I don't have a consistently sunny window, so I purchased a small grow light and I keep it on a timer. This way, the seedlings will get more light than the sun can provide this time of year. I keep the light very close to the top of the dome when I'm getting the seeds germinated and as they continue to grow, I'll pull the light back further to encourage them to grow upward toward the light (mimicking what they do in nature).
Another option is to add a heating pad under the germination try. Some seeds really benefit from this and the heat is gentle enough that the seeds won't "cook." Again, the heat is typically only needed to get the seed germinated and then it can be removed from.
Water
As mentioned above, I like to water my seeds from below. I fill the catch tray with water and let it soak upward through the soil to the seed. This way, I don't bother the seed or accidentally knock it out of the soil with the force of the water. Another option is to use a spray bottle. This is another gentle way to water the seeds as they are just getting started. Once they are germinated and roots have formed, they can be watered from the top or the bottom. Spraying will then only keep the humidity up. It won't be enough to keep them hydrated.
3. Read the Seed Package
If you want success with your seeds, this is the most important step!
Some seeds need light in order to germinate. These should be placed on top of the seed starting mix - not buried underneath. Others need darkness and hence, need to be buried below the soil surface. Some others need to be scarified - the outer layer needs to be scraped or cut in order for the seed to germinate.
The seed packet will also tell you: how long it will take to germinate, when it is safe to plant outside and if it prefers to be directly sown into the garden. This last point is important since some plants do not transplant well. So you may have grown a great little plant from seed in a pot, but as soon as you take it out and plant it in the garden, it may die. Certain plants are finicky that way (Poppies, for example, do not like to be transplanted and grow best when seeds are placed directly in the garden). Additionally, some plants do not do well until it is consistently above 70F at night. Many of the summer plants here in 7b New York - marigolds, celosia, zinnias - need the heat. So starting these in February is a waste of time and effort. Wait until late April or May - when the weather (& soil) is consistently warmer.
4. Know your Zone & Last Frost Date
Another important thing to know is your region's gardening zone. Here on Long Island, New York, I live in hardiness Zone 7b. The gardening or hardiness zone is a number that indicates the average annual minimum winter temperature in a specific area. The USDA Plant Hardiness Zone Map helps gardeners determine which plants will grow best in their area. You can find your hardiness zone here.
This is especially important when you are shopping for perennial plants. Make sure they are hardy in your planting zone, otherwise, they will not survive your winter and you will need to plant it again the following year.
Knowing your hardiness zone will also clue you in to your region's last frost date. After this date, the risk of a frost is very low and it is safe to plant outside. Here in 7b, our last frost date is typically around April 8th. Again, read the seed packet - some require to be planted outside only AFTER any risk of frost.
5. Label Your Seedlings
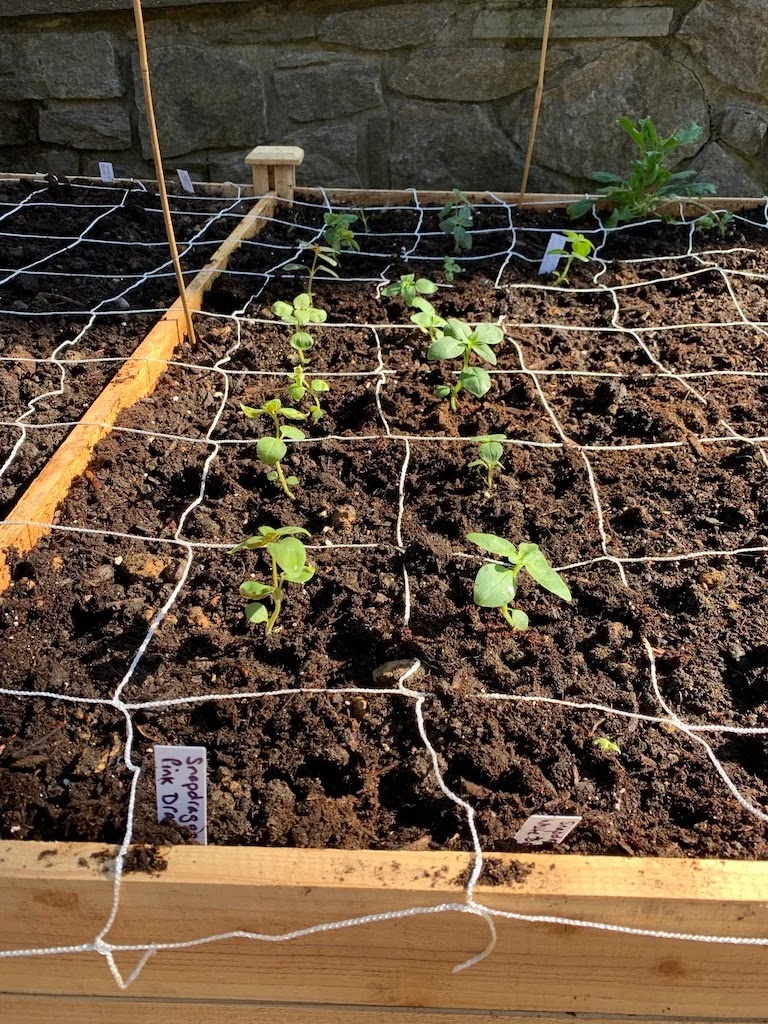
Another important step is to label your plants. As soon (or even before) you drop the seed onto the soil, stick a label into the pot. You think you will remember, but trust me - you won't. Suddenly everything looks the same. Did you plant a snapdragon or a basil plant? It's a good idea to also label things in your garden once they are mature enough. These little plants can easily be confused for weeds and in a blink of an eye, all your hard work has been ripped out by the roots (literally). I personally like the plastic markers and I use a waterproof pen or Sharpie to write out the name. But I've also used popsicle sticks, rocks, duct tape attached to a stake. Bottom line - label it in any way you can. You will thank me for this.
So ready to give seed starting a go? Go to the store, online or in person, choose 5 seed packets and try it. They give you a lot of seeds in one packet - so if they don't take, you can try again. Or share some with your friends. Do a seed swap! Drop me a line if you have any questions or if your seed starting venture was a success! I'd love to hear from you.
Many of these you can find at your local hardware store, any of the seed companies listed above, major retailers and Amazon.
-Kate
Comments
Post a Comment
Thanks for leaving a comment! Even if I don't reply to each comment, please know that I do read every one of them and truly enjoy hearing from you!